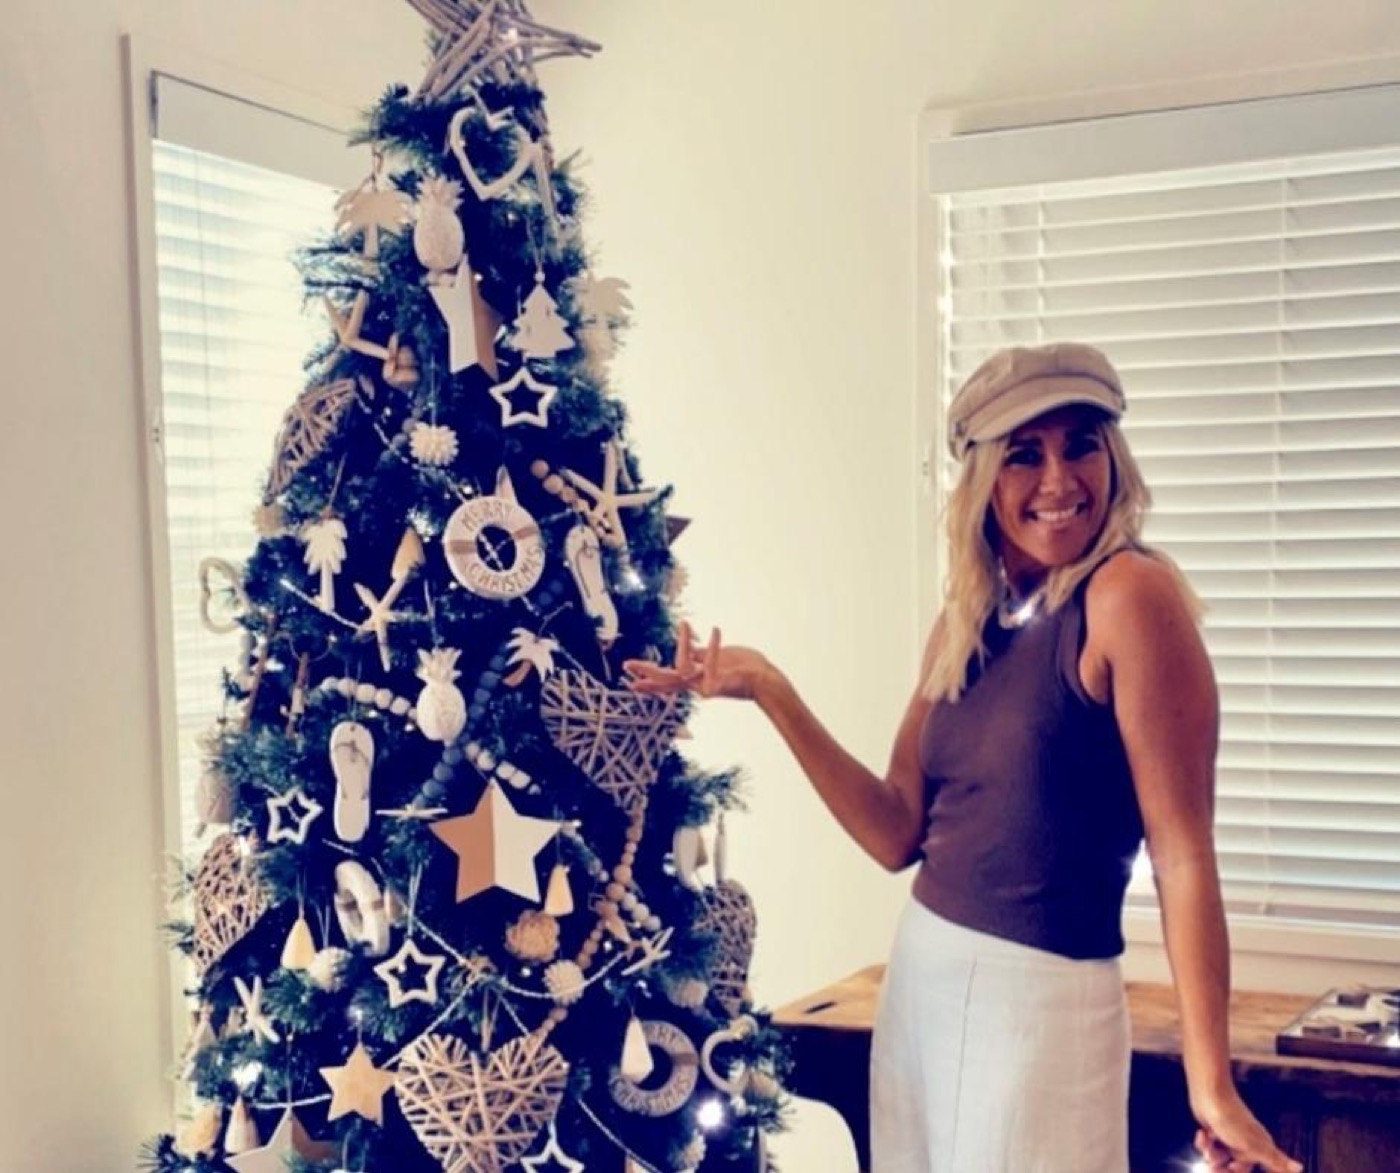
We always get so many comments on how amazing and perfect the trees look, so Nicole thought she would give you a little step by step guide when decorating her very own unique Christmas tree.
Starting out as a visual merchandiser at Myer (way, way back when) Nicole was the queen of Christmas and known for her creative style.
Now every Christmas we decorate many of the Noosa venues decking them out in our coastal Christmas ‘Splash’ style. We always get so many comments on how amazing and perfect the trees look, so Nicole thought she would give you a little step by step guide when decorating her very own unique Christmas tree today.
Nicole is decorating her tree in a very Australian coastal style. But whatever style you are going for, follow these steps for a beautiful looking tree.
Let’s get started!
Choosing your decorations: When choosing your decorations, we recommend choosing a maximum of two colours, rather than a multitude of colours ie gold and silver. Also choose a variety of shapes and sizes for your ordiments and not just all baubles.
Get your tree ready. First thing to do is to fluff out all the branches, this takes time but is very important as it creates fullness and shape. We also put a nice Christmas tree base on the bottom to hide the stand.

The lights! You can’t have a Christmas tree without xmas lights. Always use the same colour cord as your tree ie green for green trees, clear or white for white trees. The lights must go on first, as it’s too hard to do once all the decorations are on. Start at the base and work your way to the top pushing the lights to the tips of the tree! Lights on!!
Layout all your decorations: For speed and organisation, Nicole lays out all her decorations in order from largest to smallest before she gets started.

Add the garland: Firstly put on the garland ie your beaded or shell strands. You’ll notice that there’s not much use of tinsel these days with the modern professional trees. From the top down, work them around the tree in different directions.

Add the decorations: Nicole’s biggest tip is to add the decorations on from the largest to the smallest. Space them out evenly all over the tree - starting from the top in a Z shape pattern. This will create a well balanced visually pleasing tree.

The Star: The final step is to add in all the smallest decorations to fill in all the gaps - and don’t forget the star!

Switch on the lights and you’re done. DADAAAH!
Check out the vid here.
